
1. Fill in the Title, Short Description, and Full Description of the material in the text fields. The Description and Full Description fields support the ability to insert links.
2. Add a cover of the material.
A 1:1 picture is a picture for a catalog of materials. If you do not add an additional 16:9 format, then 1:1 will be used in the widgets of the "Home" section.
The image for the widget is 16:9. (appears since version 11.8) Read more about widgets in the article: Creating widgets.
- When displaying images, the following logic is taken into account on the Web + Android + iOS:
If both 1:1 and 16:9 are set:
On the tab on the path Profile→ Favorites, a 16:9 picture is displayed.
The picture 1 is displayed on the card of the material itself in the Knowledge Base.:1.
The "Focus of the Month" and "Favorites" widgets on the Main Page display a 16:9 picture.
If only 1:1 is set:
On the tab on the path Profile→ Favorites, picture 1 is displayed.:1.
The picture 1 is displayed on the card of the material itself in the Knowledge Base.:1.
The "Focus of the Month" and "Favorites" widgets on the Main Page display picture 1:1.
If only 16:9 is set:
On the tab on the path Profile→ Favorites, a 16:9 picture is displayed.
There is no picture displayed on the card of the material itself in the Knowledge Base (there is no picture on the Web, and there is a standard blank on mobile platforms).
The "Focus of the Month" and "Favorites" widgets on the Main Page display a 16:9 picture.
If none of the images are installed:
On the tab on the path Profile→ Favorites, the standard 16:9 stub is displayed.
There is no picture displayed on the card of the material itself in the Knowledge Base (there is no picture on the Web, and there is a standard blank on mobile platforms).
The "Focus of the Month" and "Favorites" widgets on the Main Page display a standard 16:9 stub.
3. Select the Folder directory and the subdirectory Subfolder.
Please note that if you change the folder or subfolder of the material, the links to the material created before the move will stop working. You will need to generate them again.
The following fields are required: Name, Full description, Folder and Subfolder.
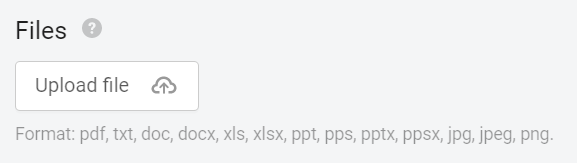
Format: pdf, txt, doc, docx, xls, xlsx, ppt, pps, pptx, ppsx, jpg, jpeg, png
Loading of images in the * format is supported.jpg and *.png, up to 16MB in size, and files of the following types: *.pdf, *.txt, *.doc, *.docx, *.xls, *.xlsx, *.ppt, *.pps, *.pptx, *.ppsx, up to 100 MB in size
Download the pdf file by clicking on the Select File button. After adding a file, you can replace it with another one by clicking the Edit button, or delete the file by clicking the Delete button.
When downloading txt, doc, docx, xls, xlsx, ppt, pps, pptx, ppsx, jpg, jpeg, png files by clicking on the Upload File button. After adding a file, it is possible to replace it with another one by clicking the Edit button, or delete the file by clicking the Delete button.
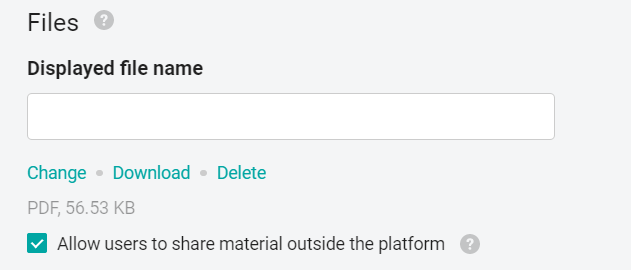
Displayed file name :
After downloading the file, an optional field for filling in the Displayed file name appears (max. 255 characters) and three buttons "Edit", "download", "Delete". In the "Active" status, the "Edit" and "Delete" buttons are not displayed. If the administrator did not specify the name of the file, the name of the program material will be substituted in the name.
Note: The Status toggle is activated after filling in all the material settings. If several languages are enabled in the company, then you need to fill in all localizations. Switching the available content languages is located at the top of the form.
After filling in the settings, click Save Changes.
Access settings allow you to make the material available to a group of users through group settings, or assign access individually. The video is available here