- How to download a goals report
- How to download a materials report
- How to download a development plan status report
- How to download a summary report
- How to download all report types at once
Exporting reports in the user version
In the user version of the IDP, as in the administrative panel, it is possible to download various reporting options.
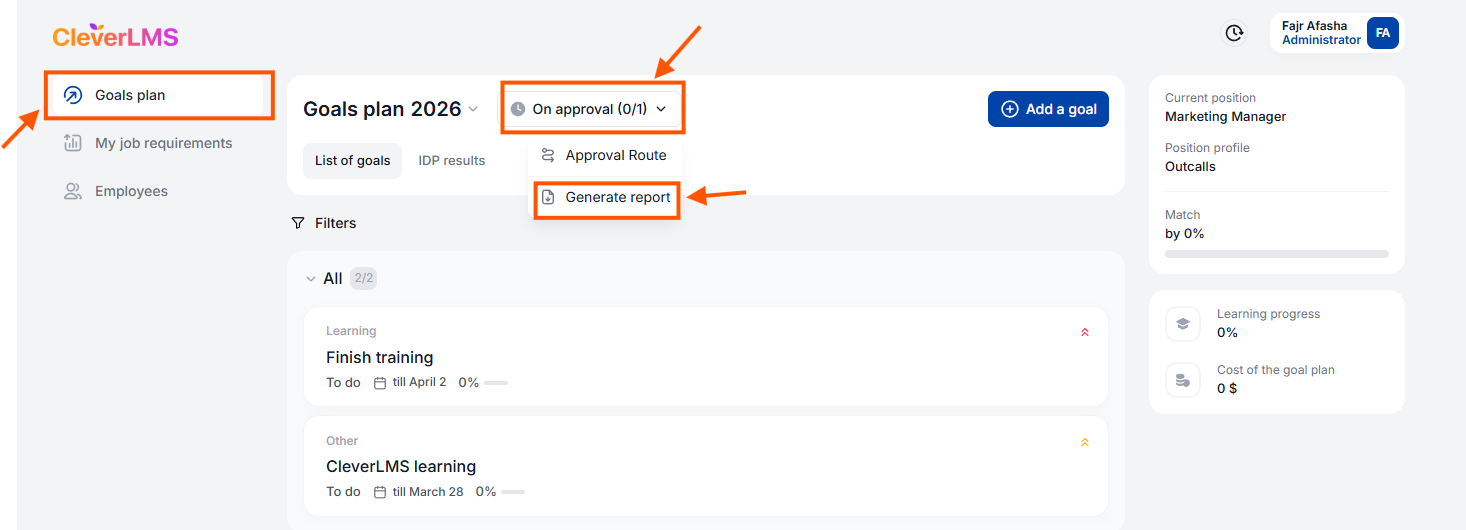
To download a report on your individual development program (IDP), go to the Goal Plans section. To do this, the employee needs to:
- In the Goal Plans section , find the development plan status line , which is located to the right of the IDP year ;
- Click on the IDP status bar;
- Select the Generate report function ;
- Select one of the reporting options : by goals, by materials, by development plan status, by summing up results.
Let us now consider the process of generating reports on employees subordinate to the manager.
No. 1. Goal Report
How to download a report on goals:
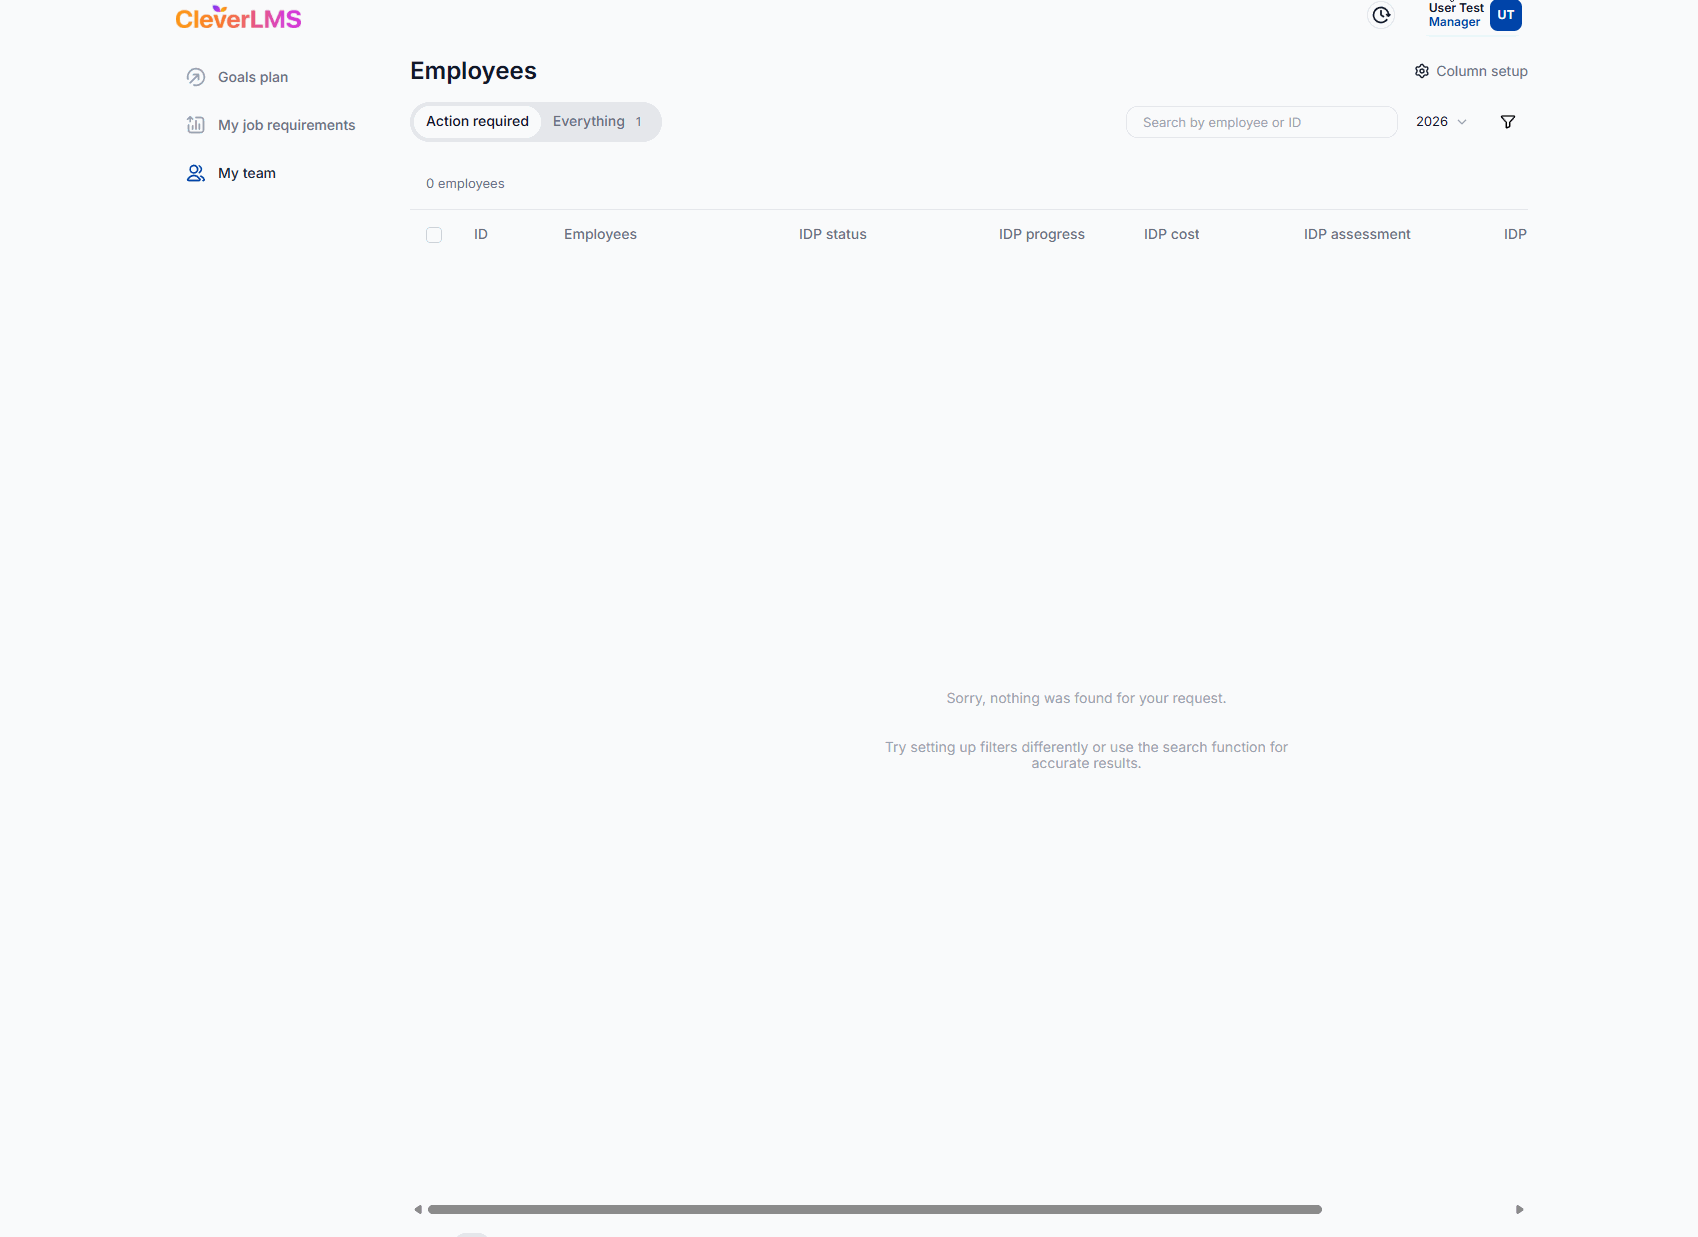
- Open the My Team section ;
- Select users in the list using checkboxes;
- Select Report - By goals ;
- Select the period and click Generate ;
- Download the finished file.
No. 2 Based on materials
How to download a materials report:
- Open the My Team section ;
- Select users in the list using checkboxes;
- Select Report - By Materials ;
- Select the period and click Generate ;
- Download the finished file .
No. 3 By the status of the development plan
How to download a development plan status report:
- Open the My Team section ;
- Select users in the list using checkboxes;
- Select Report - By Development Plan Status ;
- Select the period and click Generate ;
- Download the finished file .
No. 4 To sum up
How to download a development summary report:
- Open the My Team section ;
- Select users in the list using checkboxes;
- Select Report - Summary ;
- Select the period and click Generate ;
- Download the finished file .
No. 5. According to all reports
How to download all report types at once:
- Open the My Team section ;
- Select users in the list using checkboxes;
- Select all reports ;
- Select the period and click Generate ;
- Download ready-made report files .
In this case there is nothing to report but in general a file will be created and can be downloaded and viewed.
Each of the selected reports will be generated in a separate file. Similar to uploading reports individually, they can be downloaded from the processes window after generation.