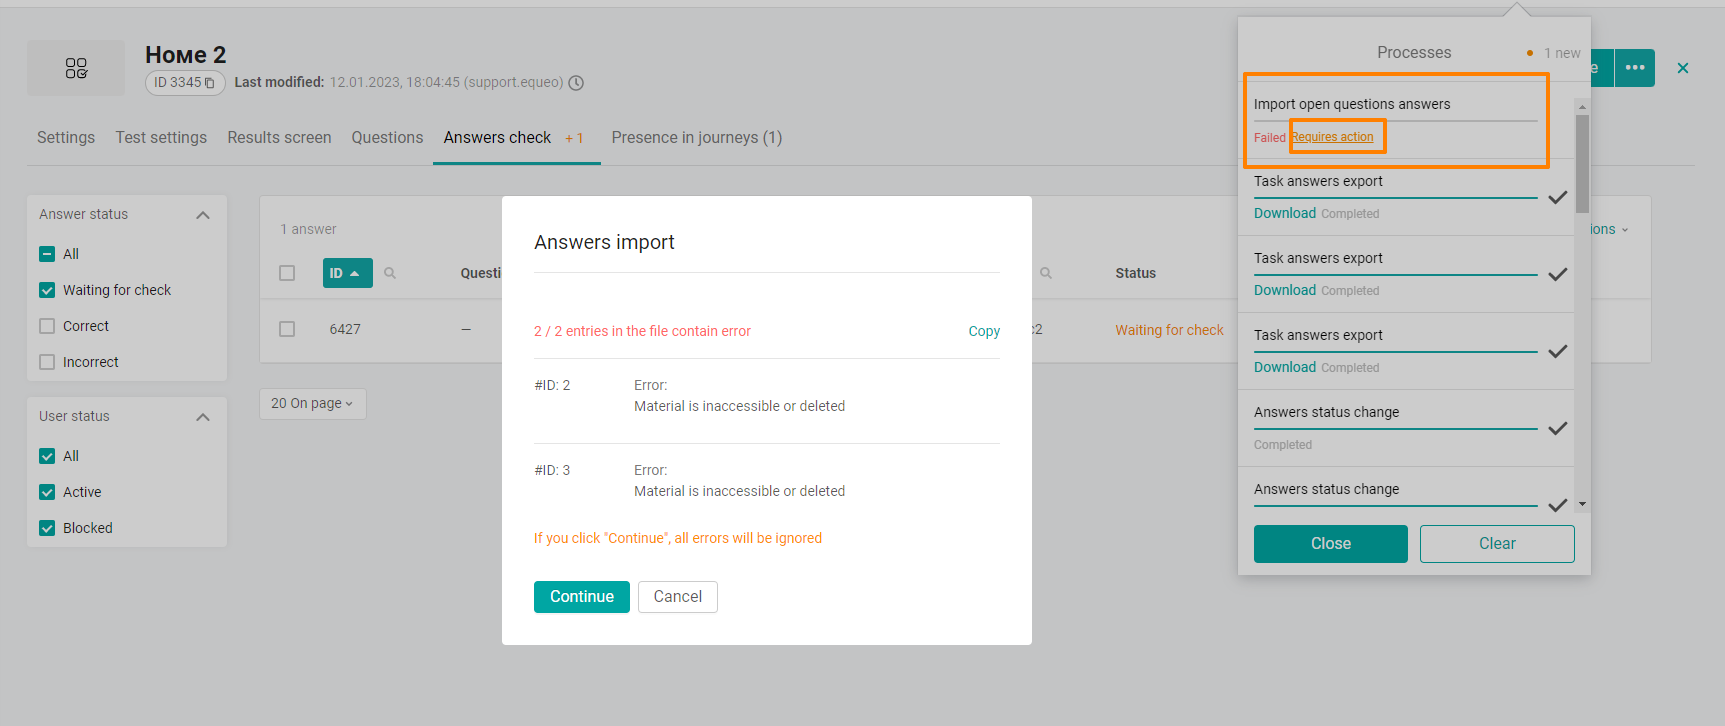
After the user passes the test with open questions, a badge with the number of questions that the administrator needs to check will appear in the administrative panel opposite the CHECK ANSWERS tab.
For the convenience of searching for materials or programs that contain materials that require verification, use the Response Verification filter.
Check the box "Show unchecked".
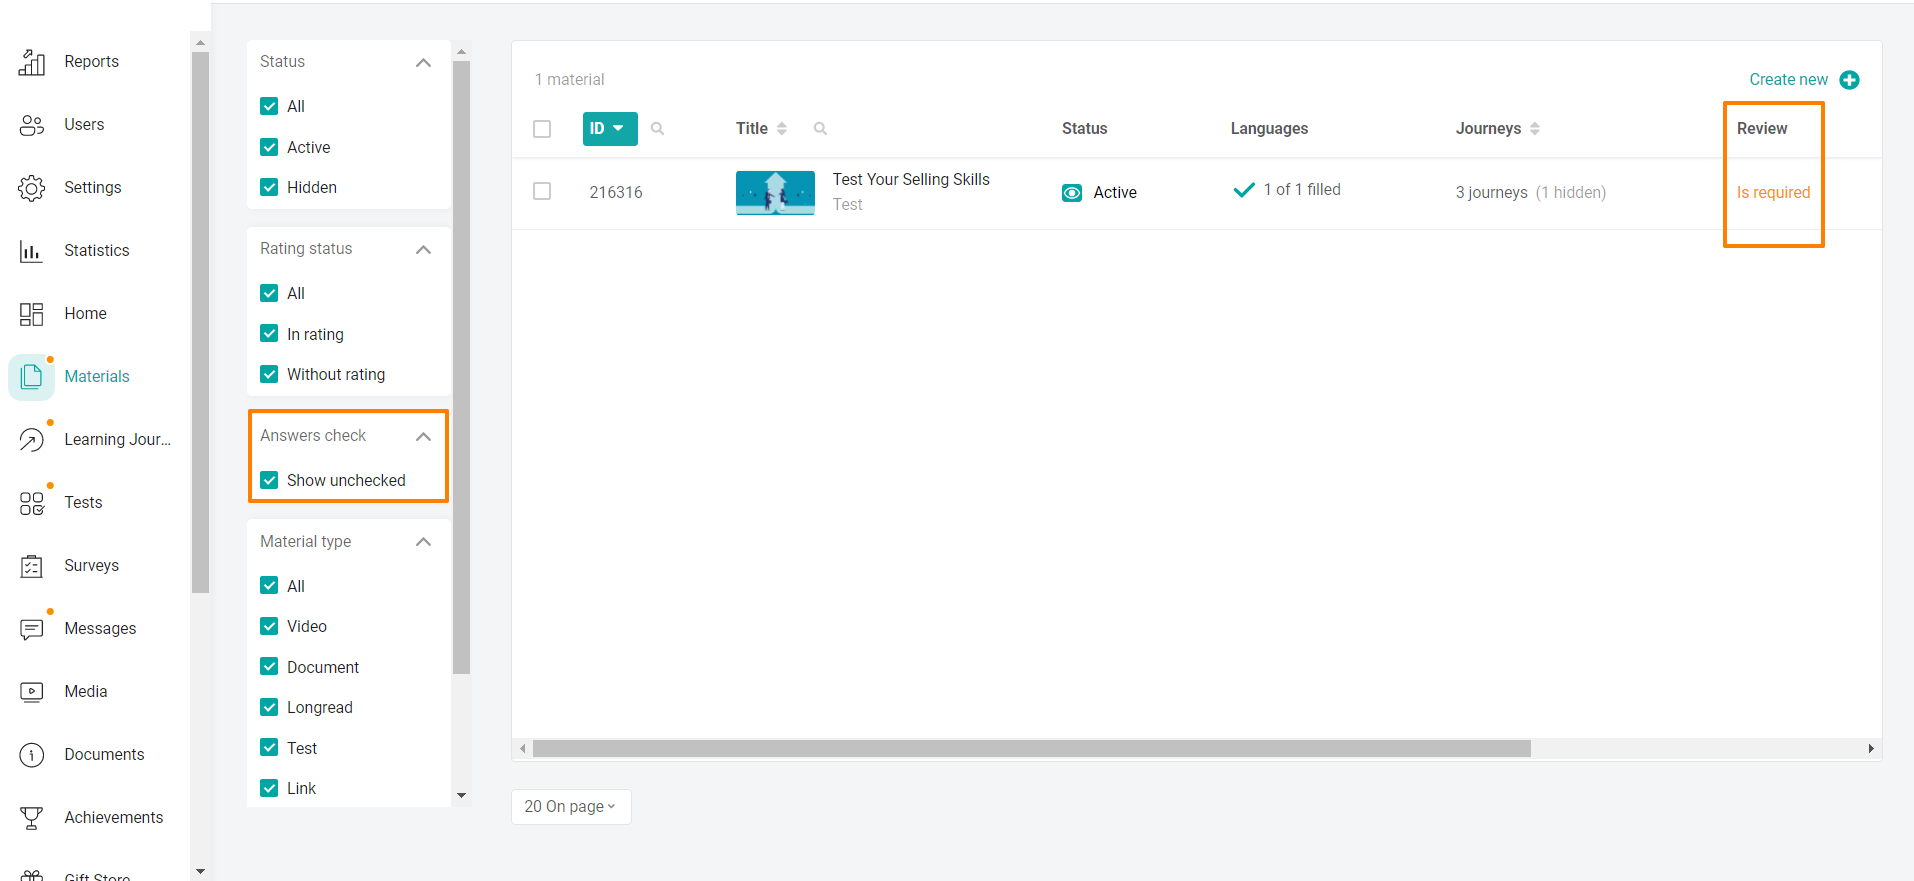
At the same time, unverified materials of the "Test" type will be displayed in the table. The Verification column shows the number of responses that require verification.
Go to the material by clicking on the material cell.
If the number of open questions to check is greater than zero, go to the CHECK ANSWERS tab.
This opens a list of responses to check.
You can check each answer individually by going to it, or massively change the statuses of the answers.
1. Checking each response by opening the card in the administrative panel
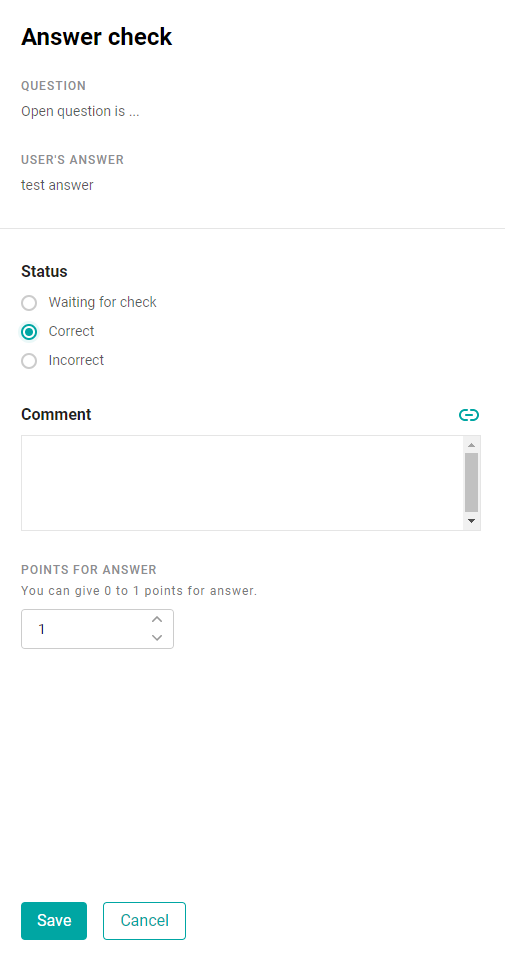
Read the user's response, select the desired status, enter a Comment (max. 1000 characters, optional).
The Comment field supports adding internal and external links.
Taking into account the link code, the limit is 2000 characters.
Give the user a score in points Points for the answer:
Awaiting verification - default status. The Response Points field is not displayed.
Correct - you can change the number of points for the answer. By default, the maximum number of points is set.
Incorrect - you will be able to change the number of points for the answer. By default, 0 points are set.
Click Save to save the changes.
Check the box next to the responses for which you want to change the response status. In the Actions drop-down menu that appears, click on the desired status Correctly, Incorrectly, in the confirmation window, select Mark as #status#.
This method is used if you need to change the statuses of a large number of responses.
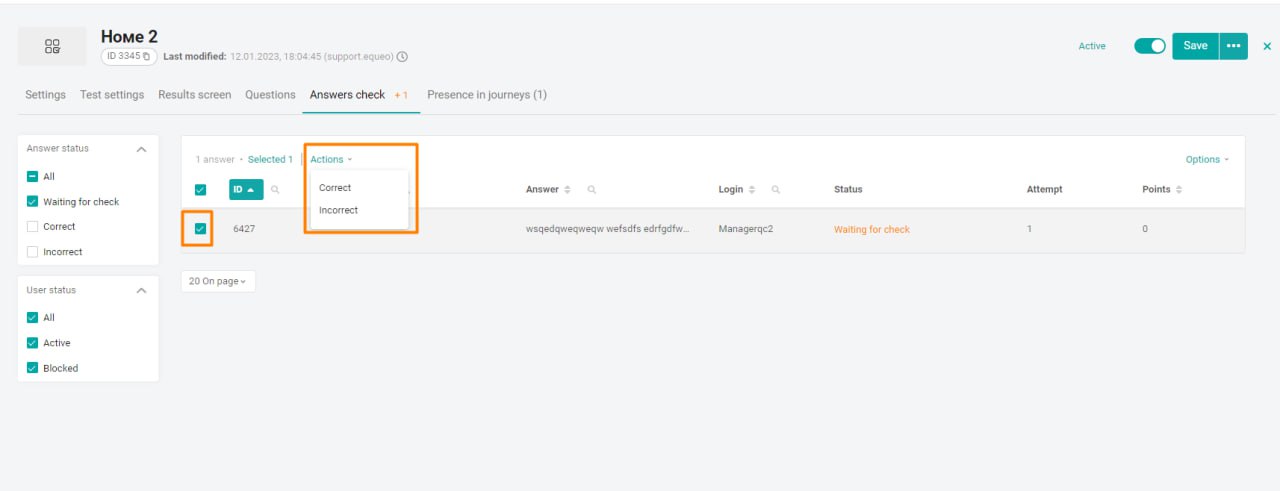
Correct - the user will get the maximum number of points for an open question. The maximum number of points is set up in the question card.
Incorrect - the answer will be marked as incorrect and the user will receive 0 points.
That is, you can upload user responses in a list. Check them in the file.
Upload the test results to the system.
This method allows you not to enter each response in the admin panel. It is suitable if there are a lot of answers and it is more convenient for you to check them in the file.
To upload responses, you must:
1. Select answers by checkboxes.
2. Select "Options" and "Export"
Download the finished file under the icon in the upper right corner.

Data is uploaded to the file:
Status;
Scores;
question id;
Question text;
User response;
Comment to the answer;
Attempt number (there may be several attempts);
User data (full name, login, groups).
By analogy, download the import file to download the test results.
We will fill it in during the check.
It contains the columns:
question id;
Employee login;
Status;
Scores;
Attempt number (there may be several attempts);
Comment to the answer.
You take all this data from the export file. You read the answer and specify the points, status, comment in the import file.
When ready, upload the import file to the system:
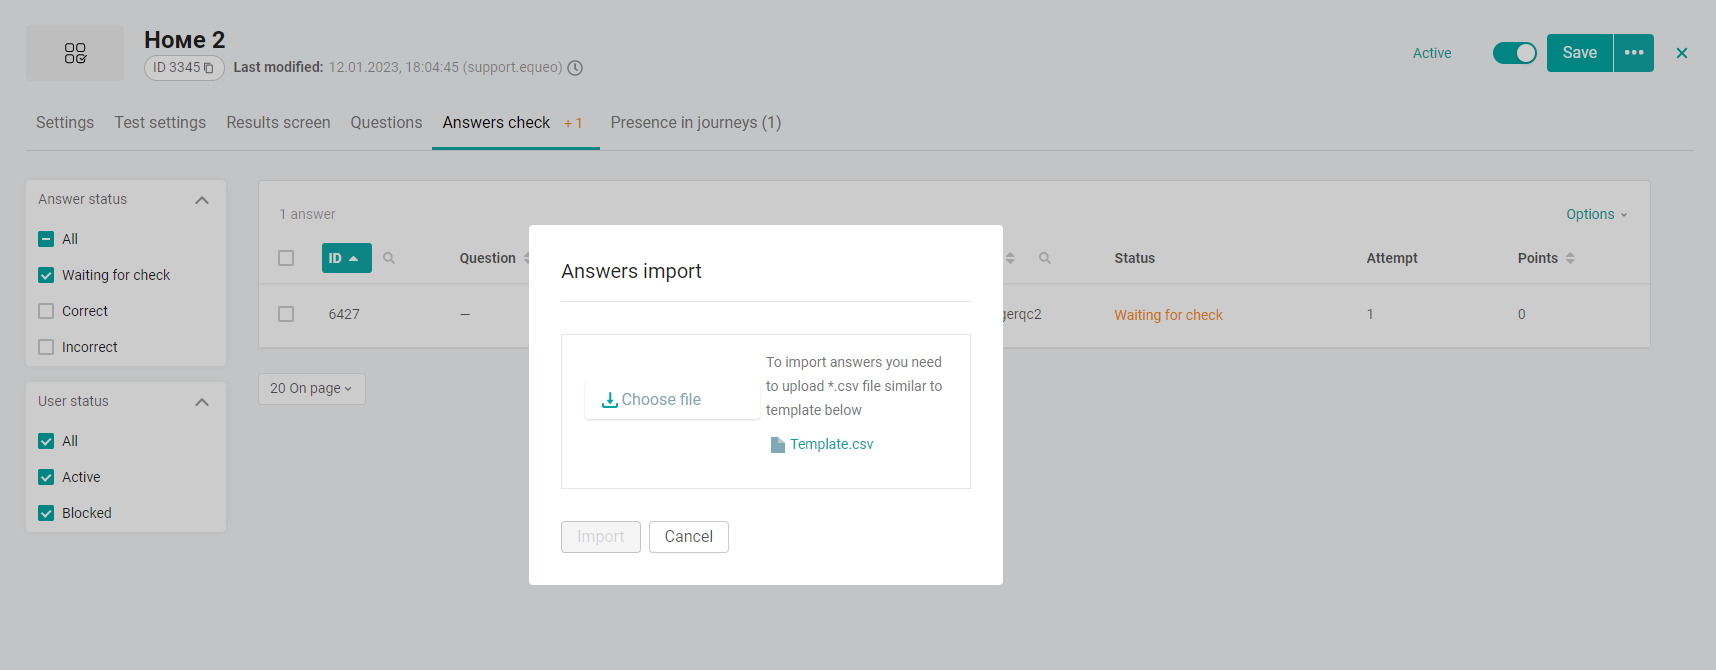
If the file contains filling errors, the system will inform you about it and you will be able to view and correct them.
