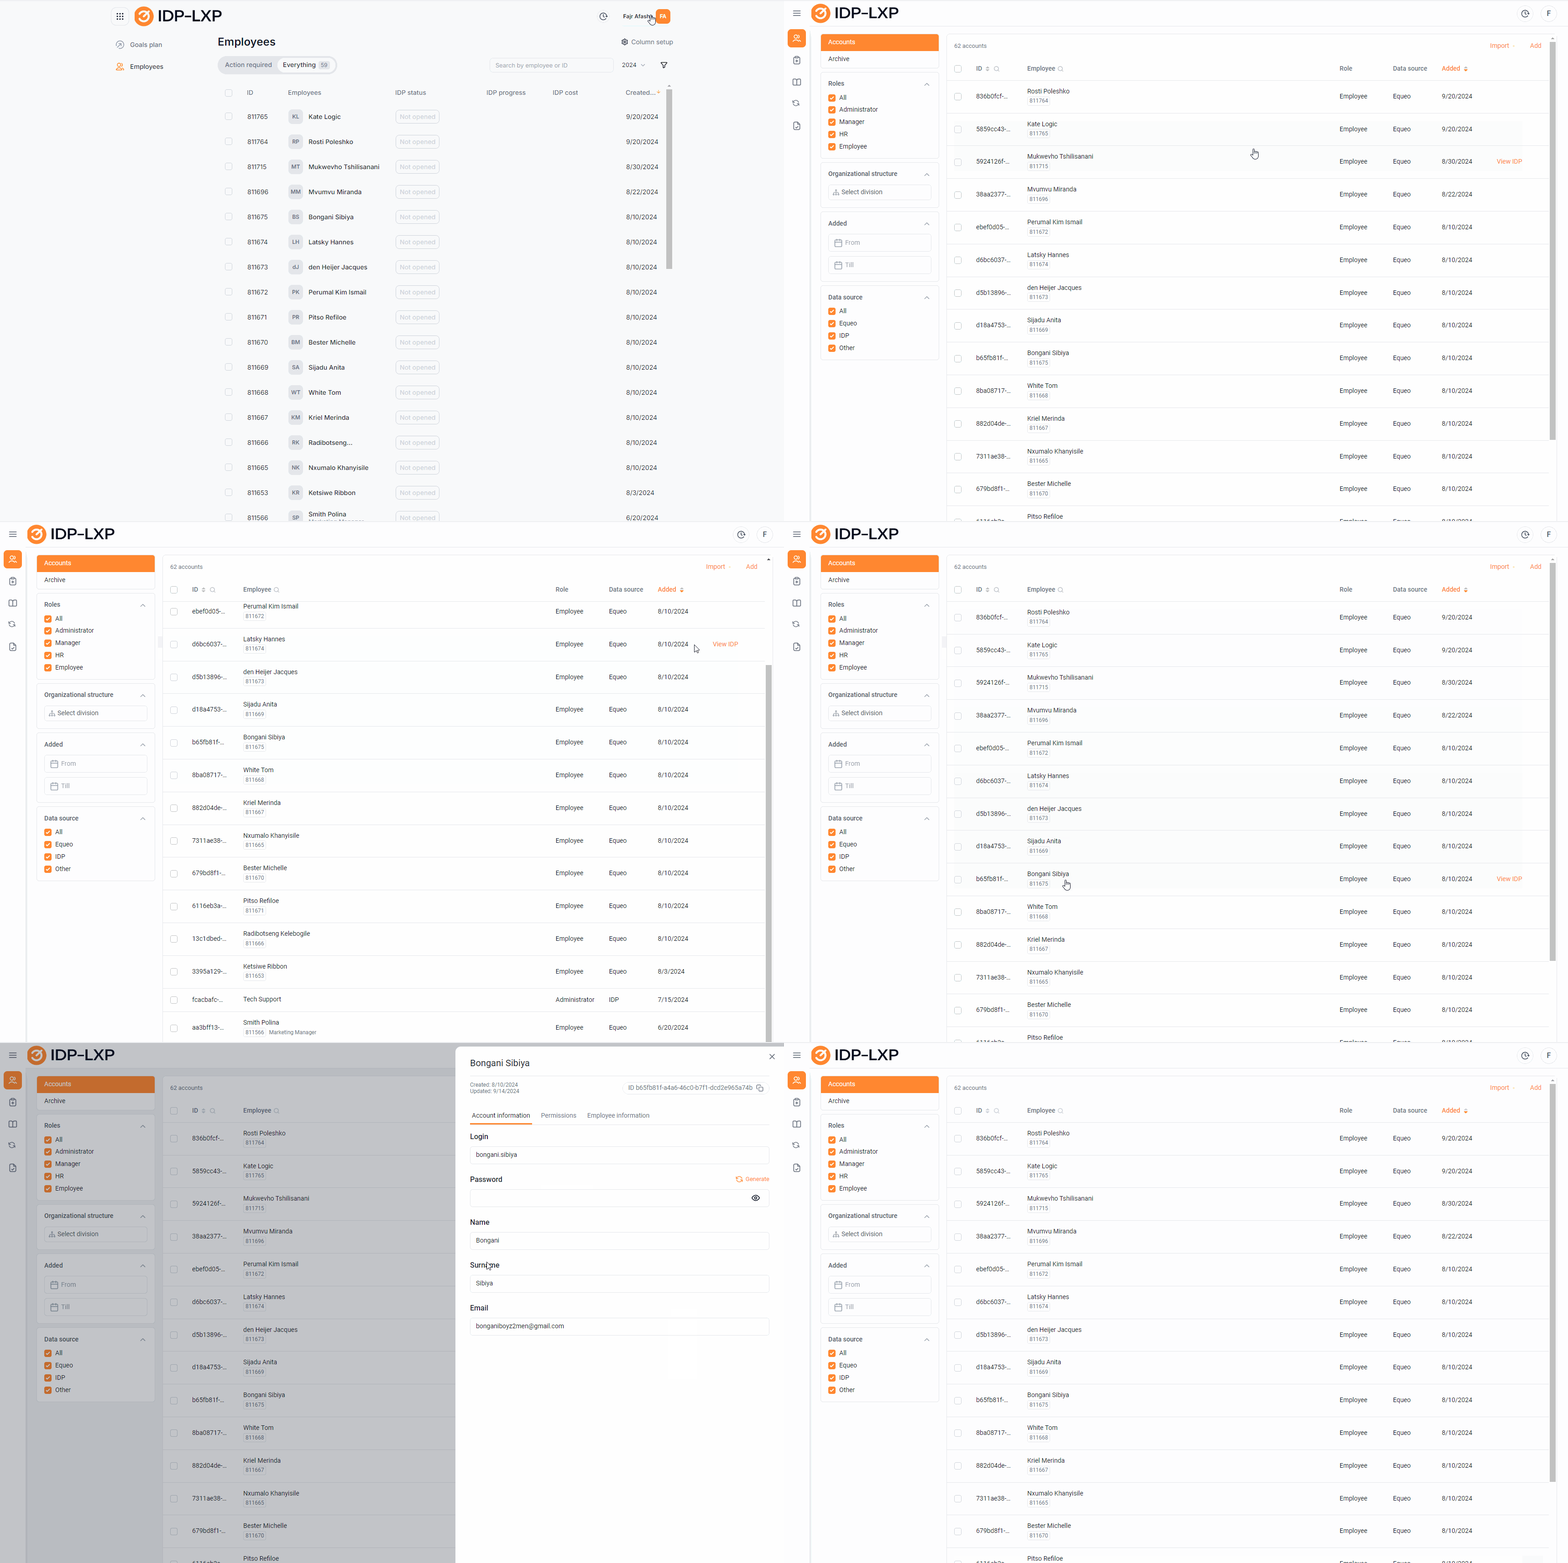
1) Automatic transfer of the user base from CleverLMS (configured integration).
2) Automatic transfer of the user base from another system (configured integration).
3) Registration directly in the IDP.
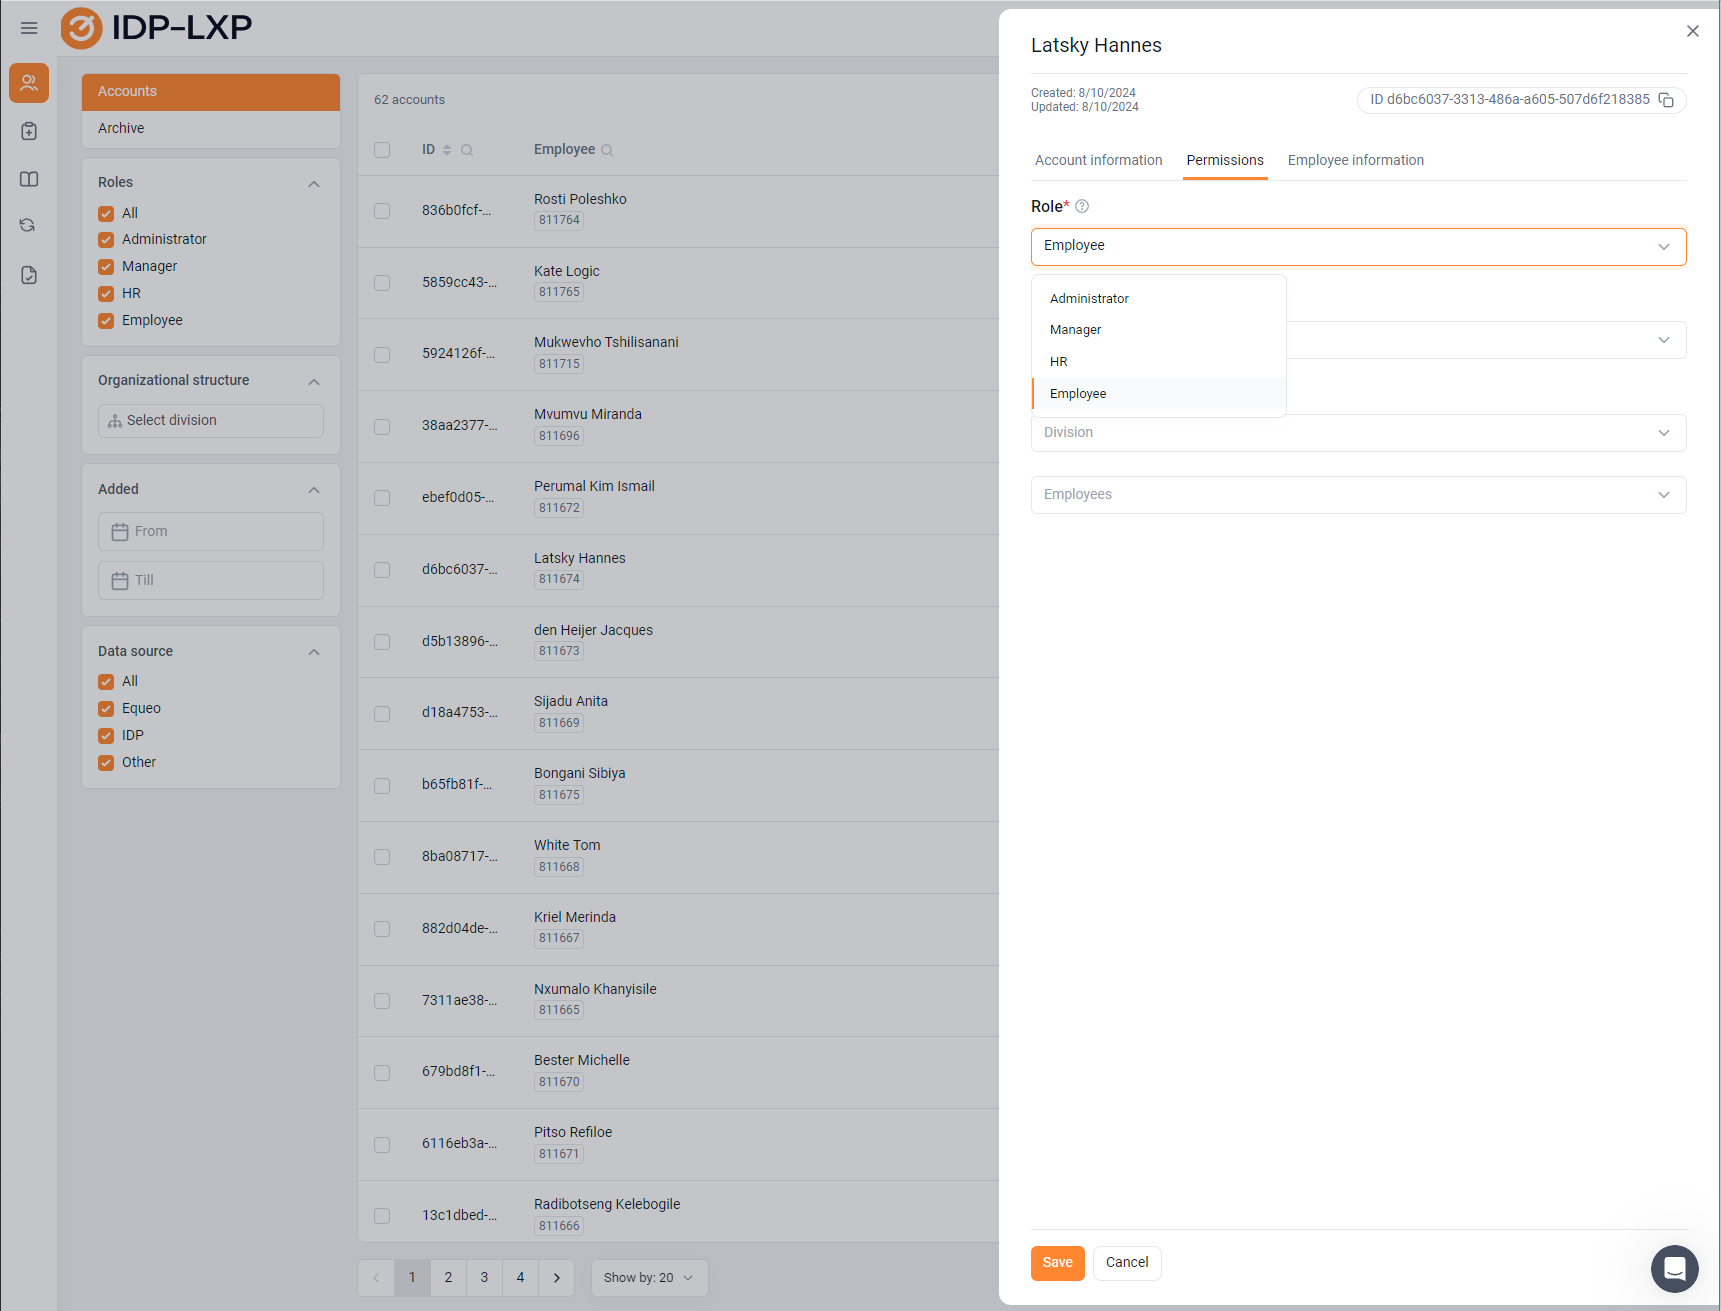
Accounts have roles that are marked in the IDP. The name of the roles can be changed if necessary (agreed upon at the implementation stage):

Administrator
Director
HR
Employee
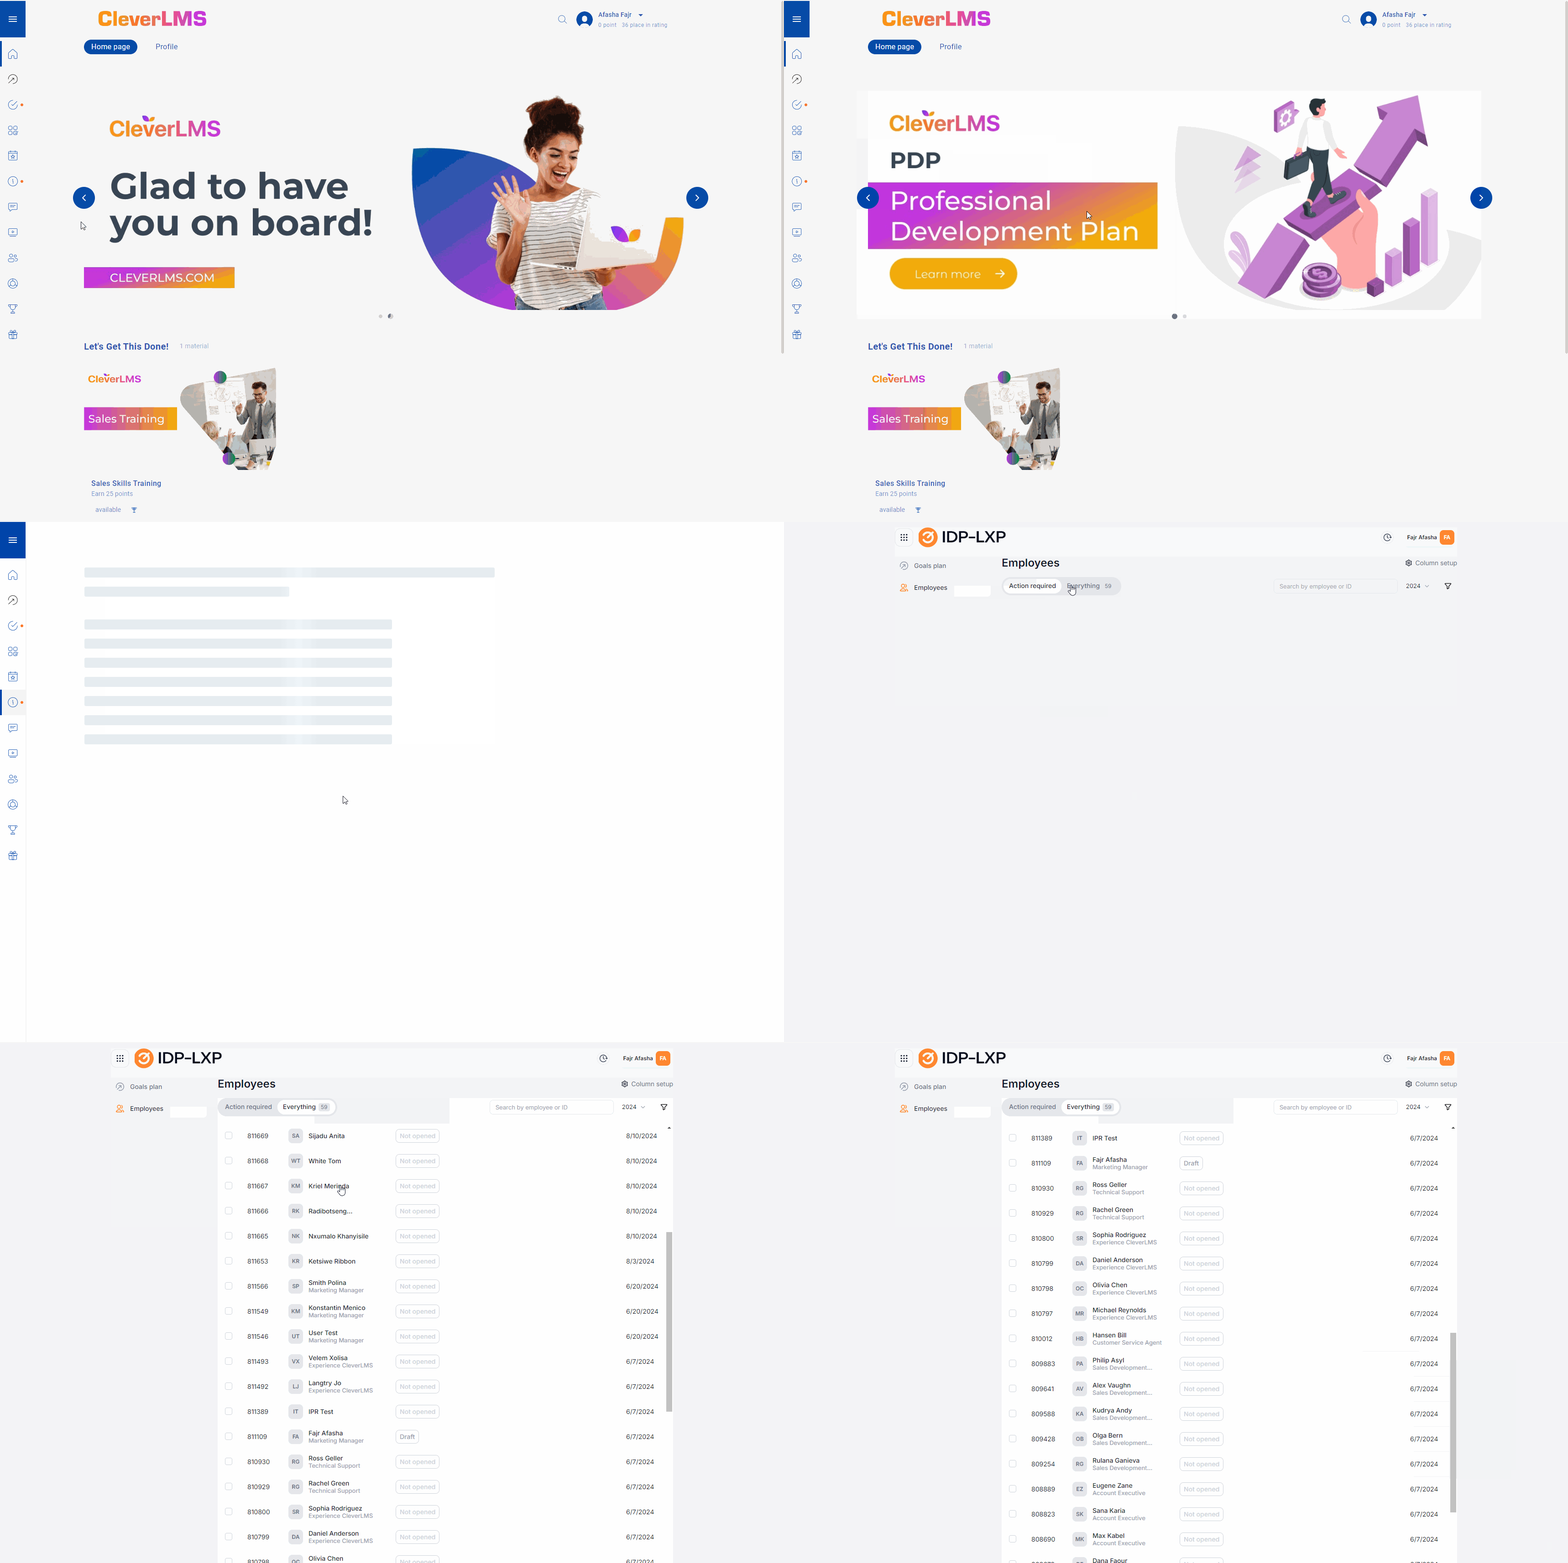
1.Through the CleverLMS application, the IDP widget is located on the main page (an additional tab opens, a seamless transition to IDP) After logging in, we work as a user: IDP on a mobile device works through an adaptive web version.


To return to the user interface in the upper right corner: Go to the individual development plan.
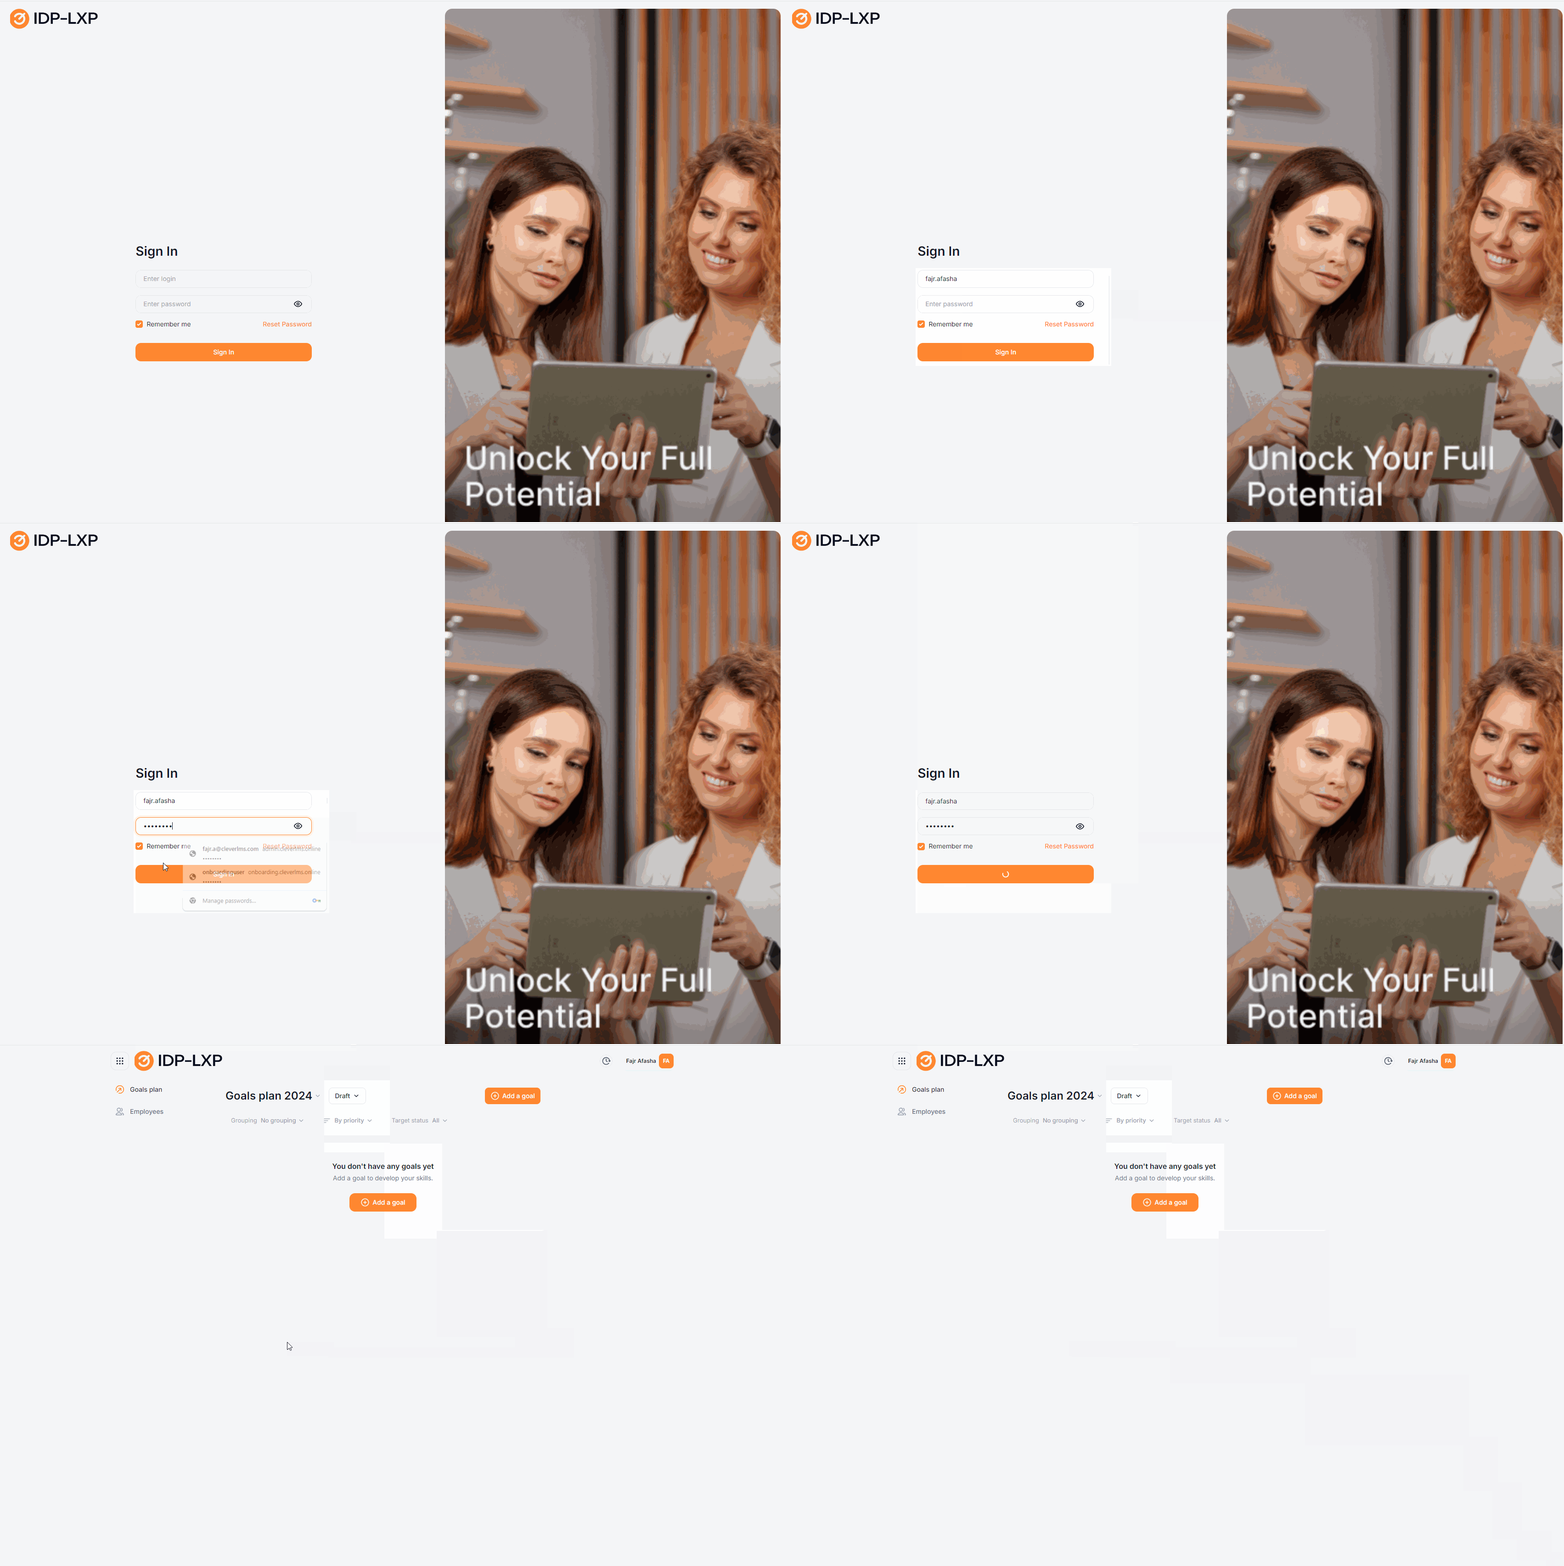
2. By clicking on the link and entering your username and password (your account)

1. Restore the password. By clicking on the "Restore password" button, an email with instructions and the "Set a new password" button is sent to the user's email address associated with the login. When clicking on which the page for setting a new password opens.
2. If a user has problems that they cannot handle on their own, they can contact support for help. To do this, the "Support Service" button is displayed at the bottom of the authorization screen.
